How to add a test target to an Xcode project
This post might be relevant only for me and for that other very small percentage of iOS devs that have the luck of dealing with legacy projects.
Adding a test target is quite easy, simply go to the project settings view, and click on the “+” button in the bottom.

You’ll see a drop down window with all the possible targets to add to the project. Go to “Other” and select “Cocoa Touch Testing Bundle”.

Oh, that was easy!
Now the tricky part, after you’ve added your first test for a class in the main target you might find the project not building. Ouch!
Undefined symbols for architecture x86_64:
  "_OBJC_CLASS_$_MyClass", referenced from:
        objc-class-ref in MyClassSpec.o
             (maybe you meant: _OBJC_CLASS_$_MyClassSpec)
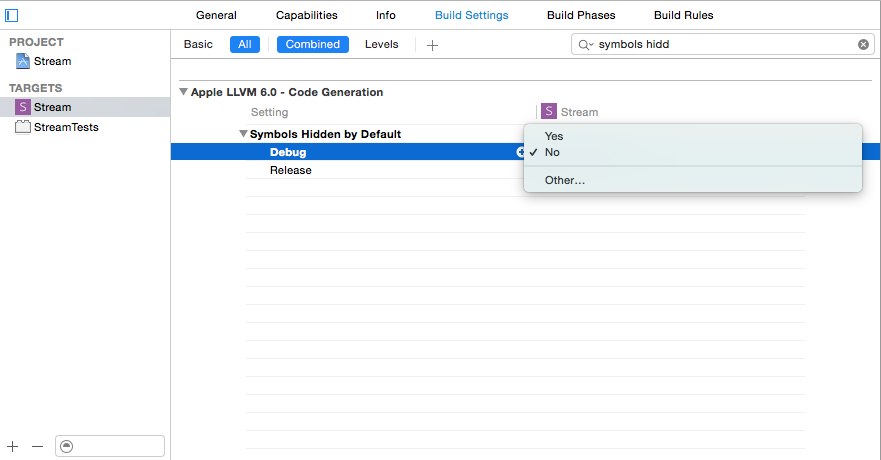
But not to worry, the fix is easy. In the project settings view from above, select the main target, go to the “Build Settings”, and turn “Preserve Private External Symbols” to “No”.

That’s it. The test target will now be able to “see” the classes from the main target that it’s supposed to test.
I understand that the guide in this post is a bit “skinny”, if you need more help please tweet me at @mokagio.
Food for thought
- What does the “Symbols Hidden by Default” option do under hood.
- How does the linking in Xcode work?
- Actually… How does the linking in C work? I don’t remember :blush: